How-to guides
Organizing
Create projects and tags, attach them to your work, and find things again later.
Projects and tags are the two light ways to sort your work. A task belongs to exactly one project, and carries as many tags as you like. Build them up as your week takes shape; there is nothing to plan in advance. What each one is for is covered on Projects and Tags; this page is the steps.
Projects
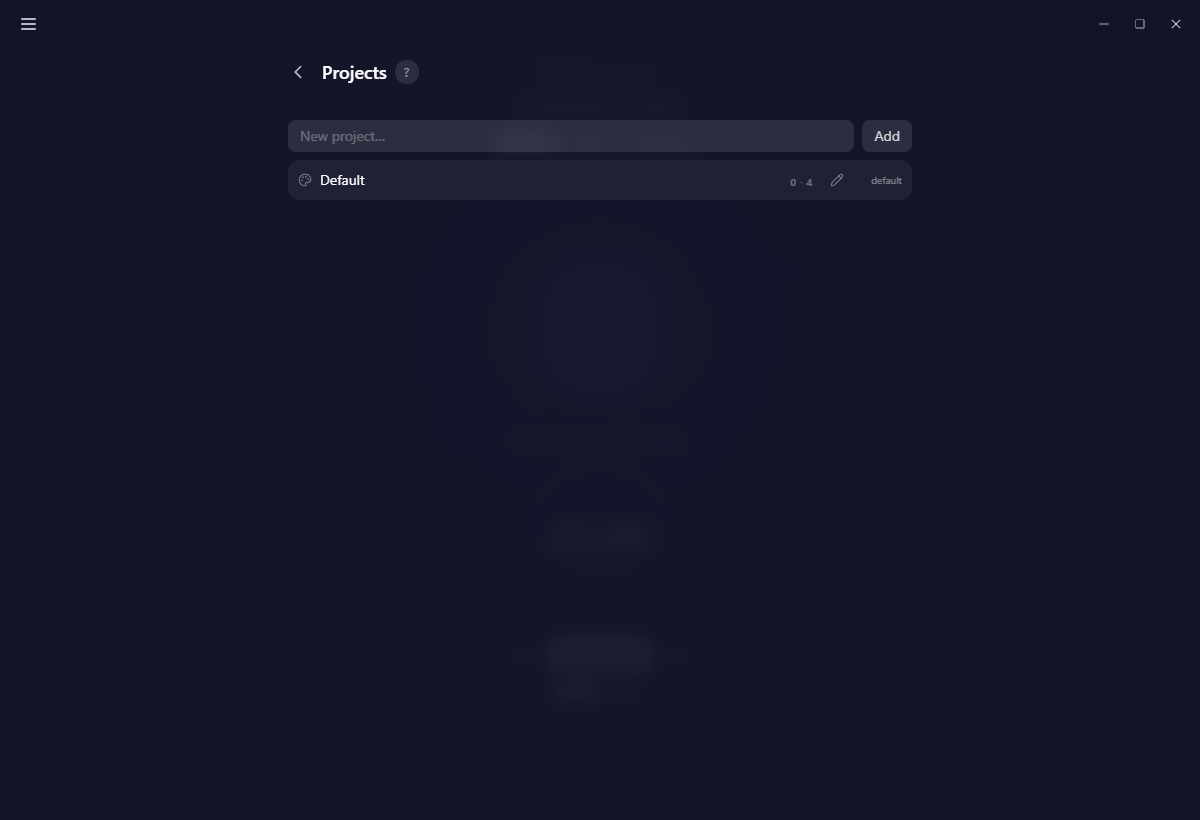
Create one
- Open the menu and choose Projects.
- Type into New project….
- Press Enter, or click Add.
A name that already exists will not create a second project. Every task you do not file lands in the built-in Default, which you can rename and recolour but never delete or archive. It starts with no colour at all.
Rename or recolour one
Click the pencil on the row. It opens a small editor with the name field and the same rich colour picker tasks use: swatches, a colour square, a hue slider and RGB boxes. The coloured mark on the row is a label, not a button.
The same pencil sits in the title row of the project's own page, so you can edit it from either place.
File a task into a project
Click the coloured project badge in the top-right of a task card and pick from the list. Leave it on Default if none applies. A task with steps still belongs to one project as a whole.
Archive or delete
- Archive stops the project's recurring tasks from firing and moves the row into an Archived section. Bringing it back does not switch those recurring tasks on again; you re-arm them yourself on Recurring tasks.
- Delete moves the project's tasks and its recurring tasks to Default, and erases the focus time recorded against that project in Charts.
Tags
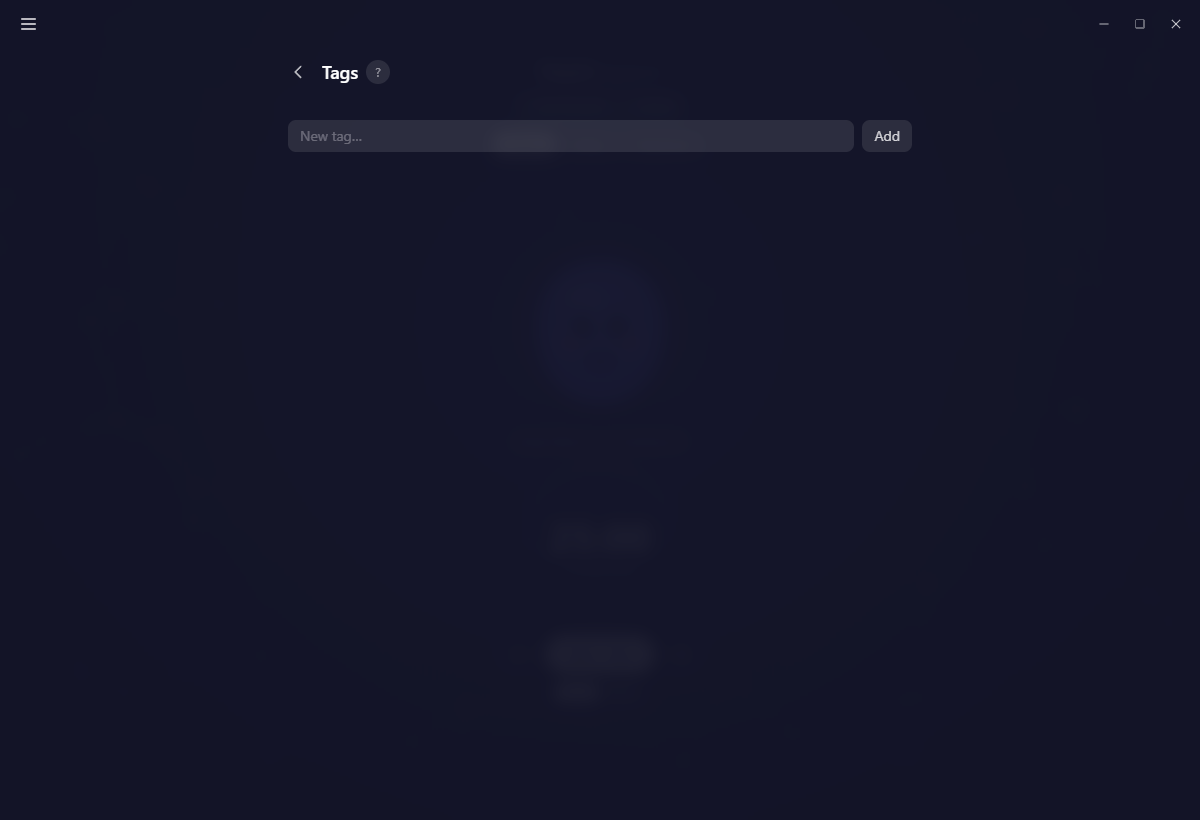
Create one
- Open the menu and choose Tags.
- Type into New tag….
- Press Enter, or click Add.
As with projects, the pencil on a row opens the name and colour editor.
Tag a task or a step
- Expand the task.
- If it has no steps, use the tag picker on the line under the title.
- If it does have steps, tag each step instead. The parent picker disappears as soon as the first step exists, because the specific work is where a label belongs.
- Pick as many as you like.
Delete one
Deleting a tag strips it from every task, every step and every recurring task, and erases the time tracked under it. This cannot be undone, and typing the same name again later creates a brand-new tag with none of the old history.
A task lives in exactly one project. It can carry any number of tags. That difference is the whole system.
Find things again
Filter a list
- Today and Tomorrow carry a bar with Projects, Tags and Priority filters and a Sort control. Clear resets them.
- History and Recurring tasks carry Projects and Tags dropdowns with a Non-tagged row, on by default, so untagged work stays visible.
Open a project's or tag's own page
Click the row. It opens a page with two tabs, Recurring tasks and History, showing only what carries that project or tag. There is a quick-add at the top that files a new recurring task straight into it.
The two numbers on each row are separate tallies, not a total: how many recurring tasks use it on the left, how many archived past tasks on the right. A task sitting on today's live list is not counted until the day rolls over and it moves to History.
Both list pages carry a ? button with a longer explainer, and a short walkthrough runs the first time you visit.
On mobile
The Plan tab holds three segments you can swipe between: Projects, Recurring and History.
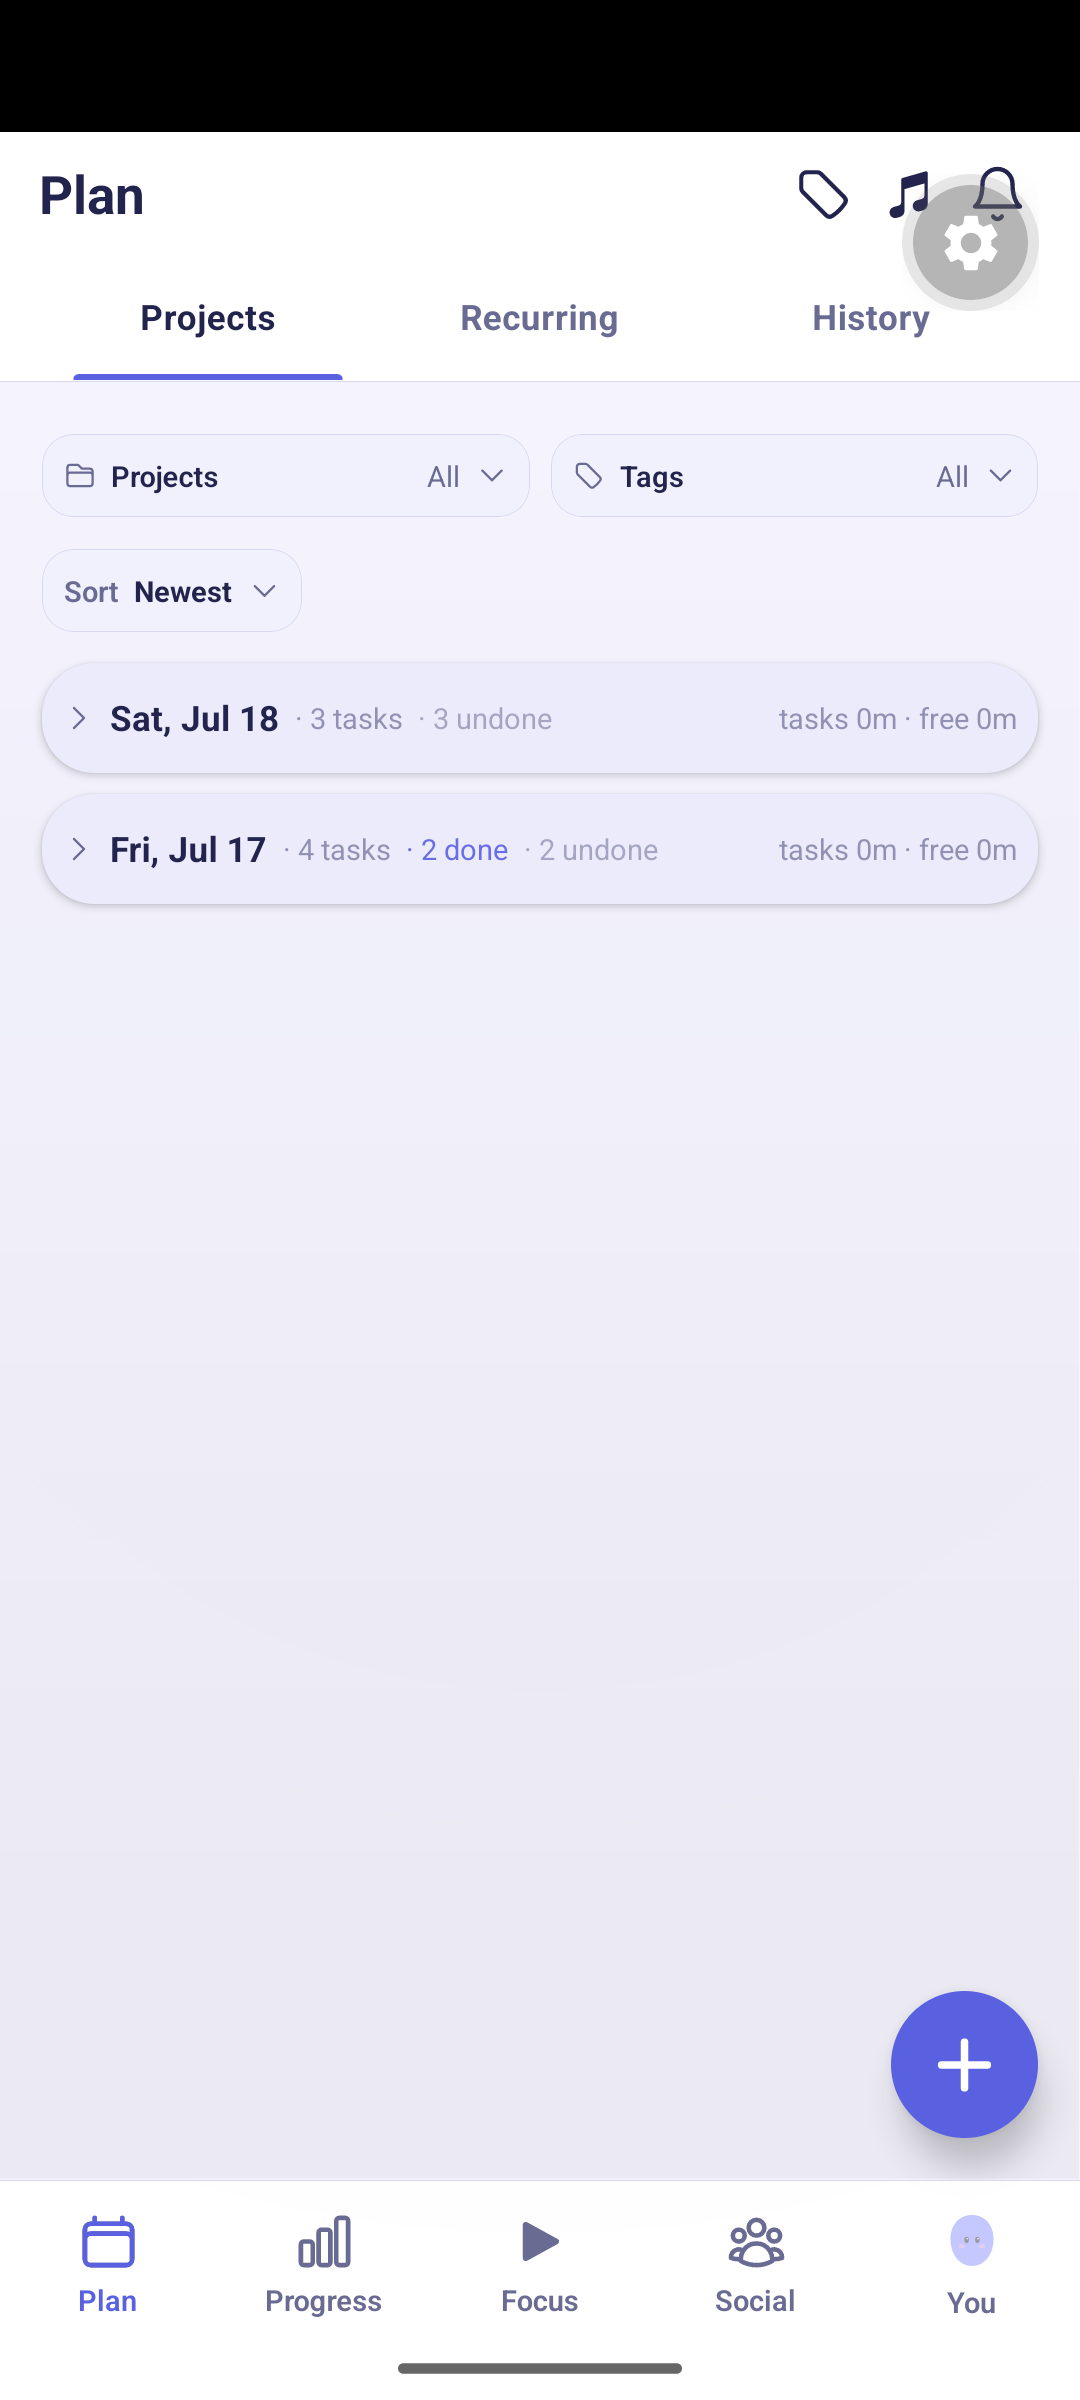
- Add a project: on the Projects segment, tap the floating + and name it.
- Manage tags: tap the tag glyph in the Plan header to open the tags list.
- Edit either: tap a row's ⋮ for rename, colour and the rest.
- Set a task's project or tags: open the task and use its Settings tab, or tap ⋮ on the row and choose Set project.
Related
- Projects and Tags for the rules behind these steps
- Recurring tasks for the repeats a project page lists
- History for finding a past day
- Working with tasks for the task side of the same card
Last updated October 21, 2026